Adobe Lightroom & ACR
The Soulful Edit
The Soulful Edit is a gorgeous, versatile Lightroom & ACR Preset Collection that showcases cozy tones, creative flare and lifestyle inspired edits. These presets range from glowy-grainy goodness to rich contrast to vibrant colors. They don't just inspire a look, they honor your creative voice and foster a feeling of instant nostalgia.
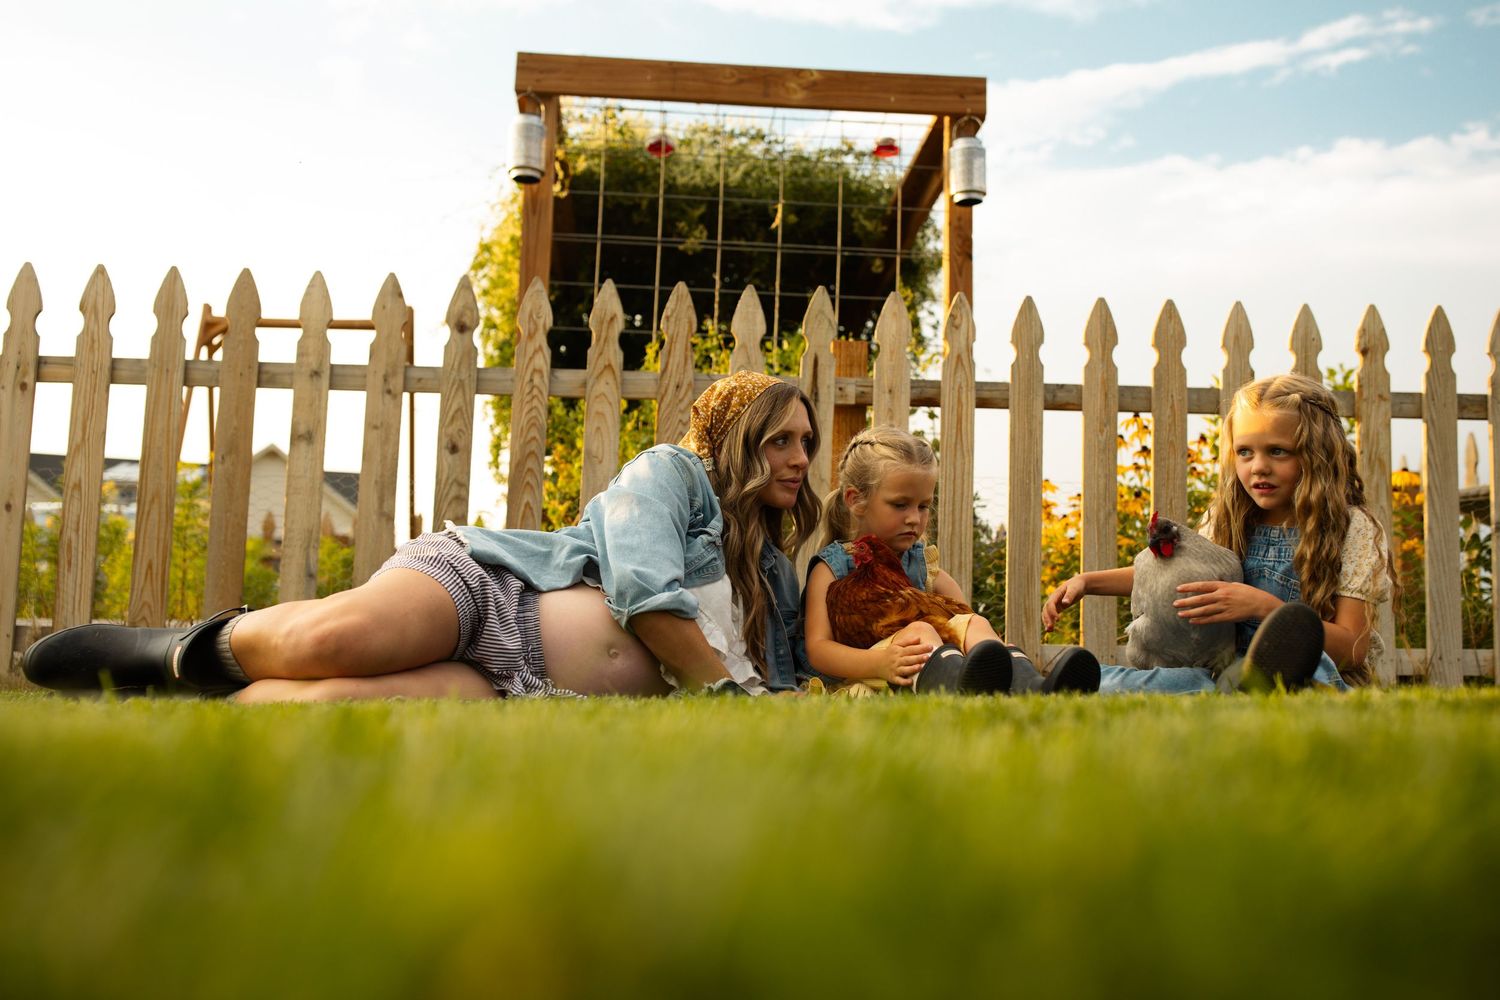
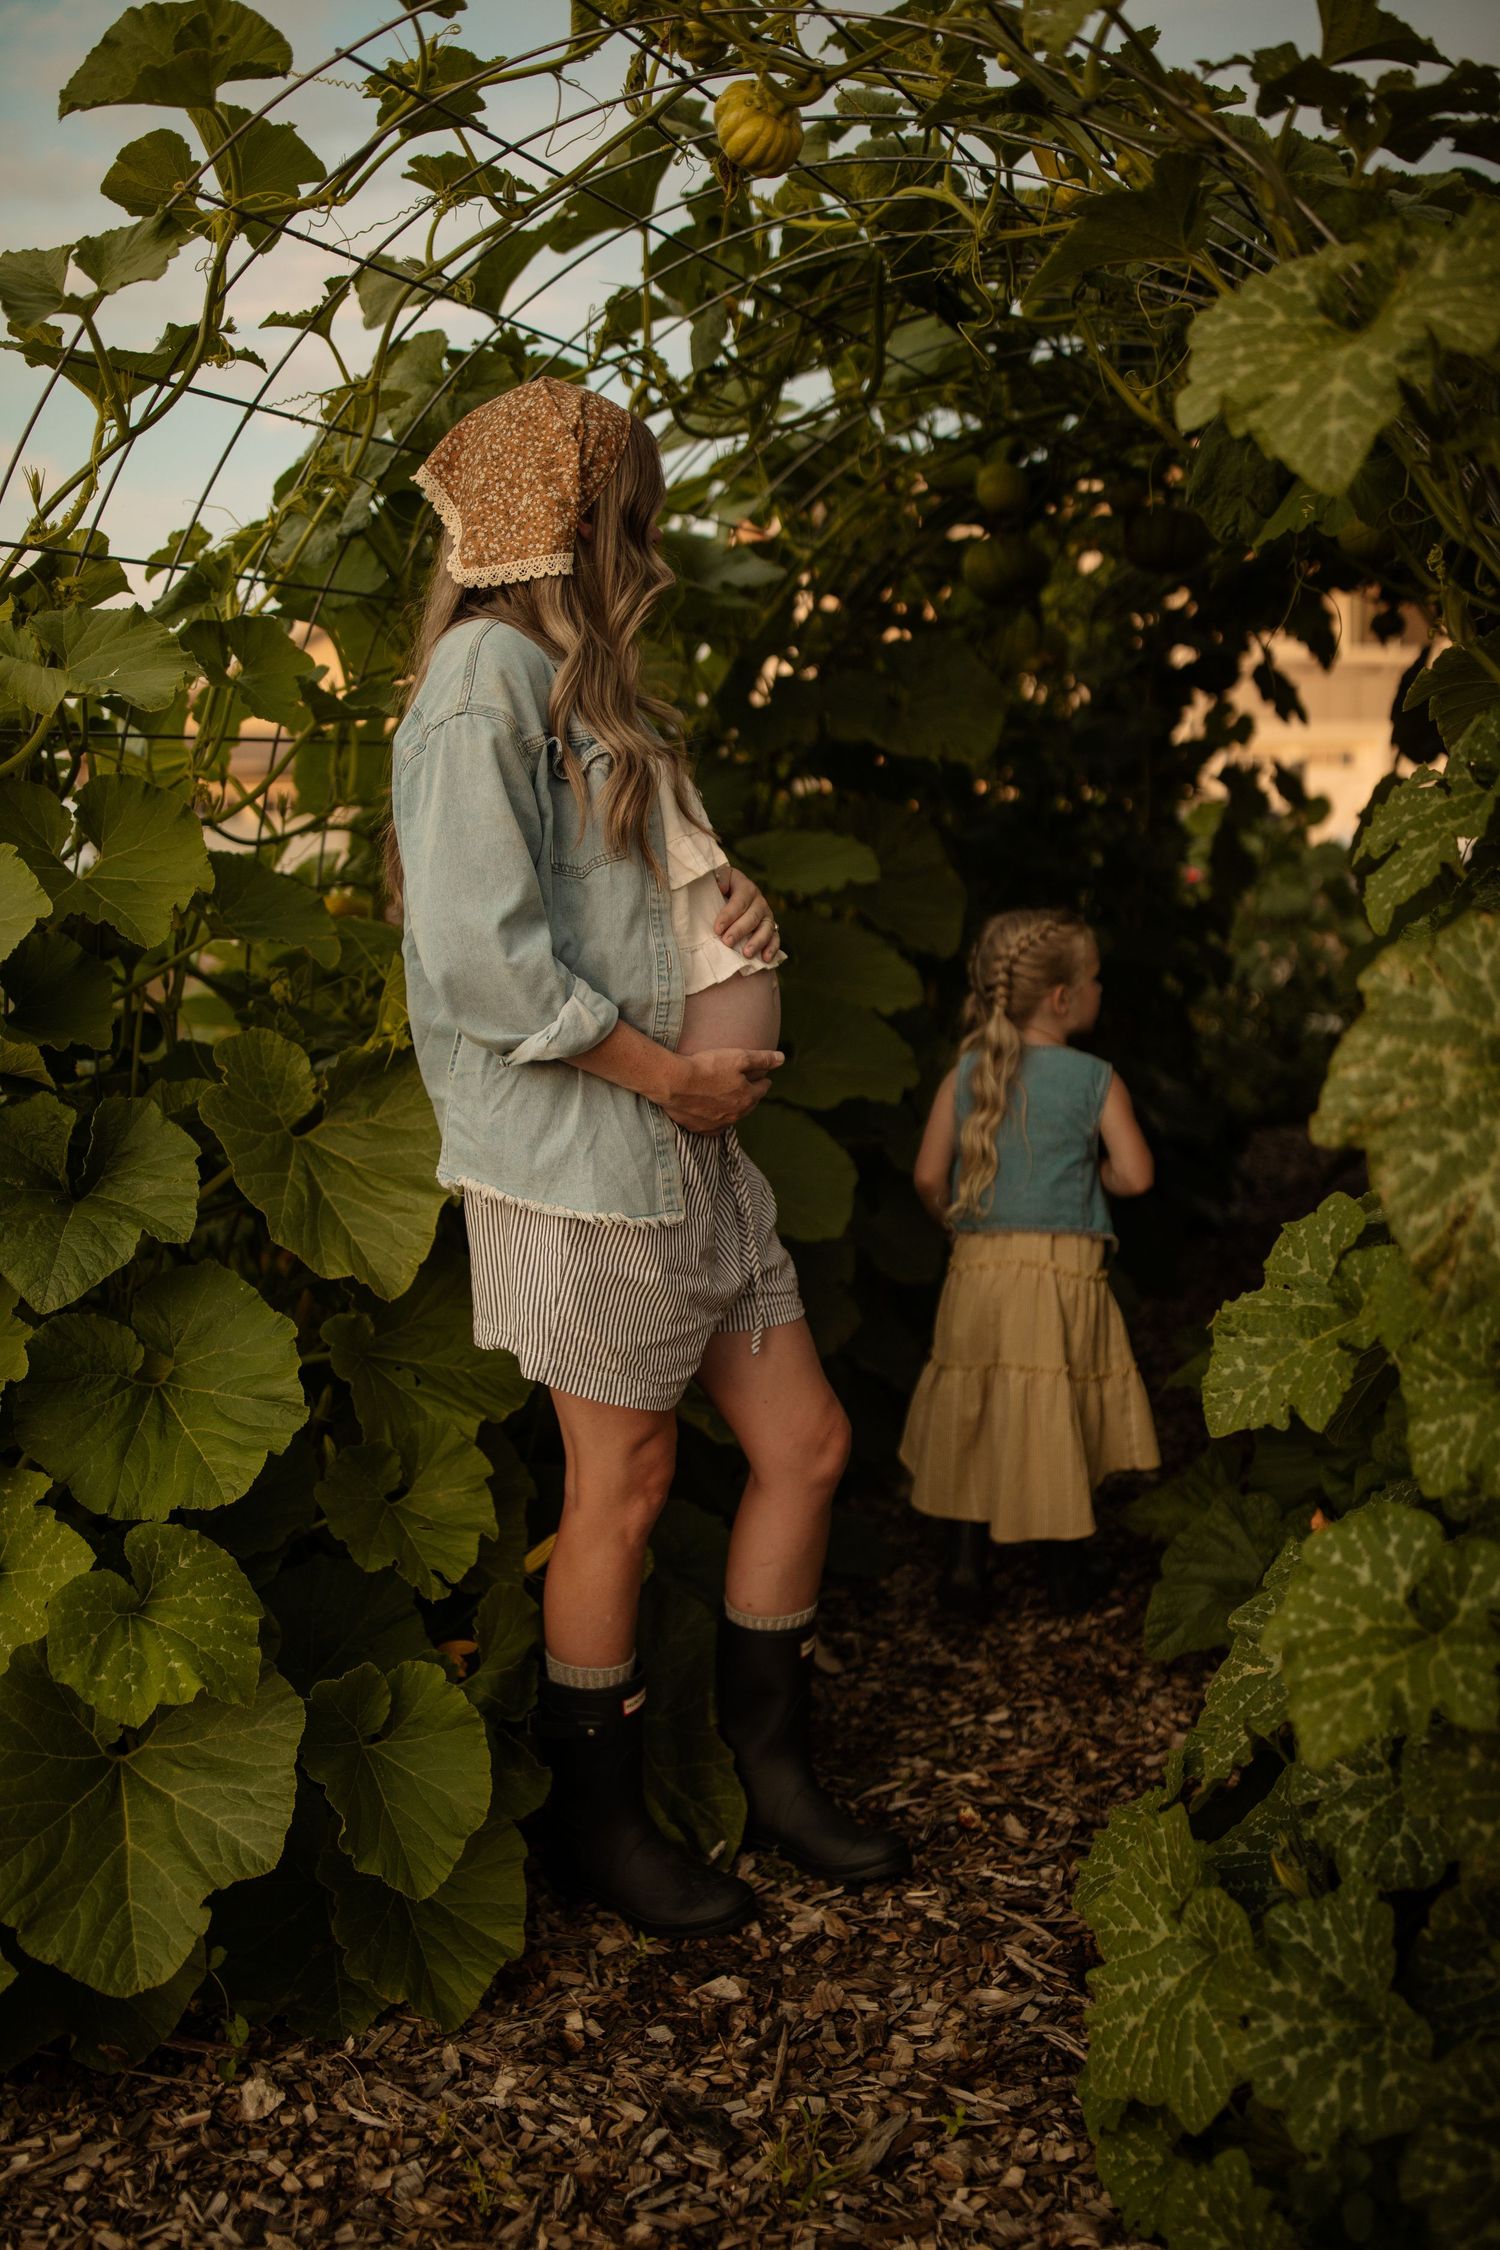
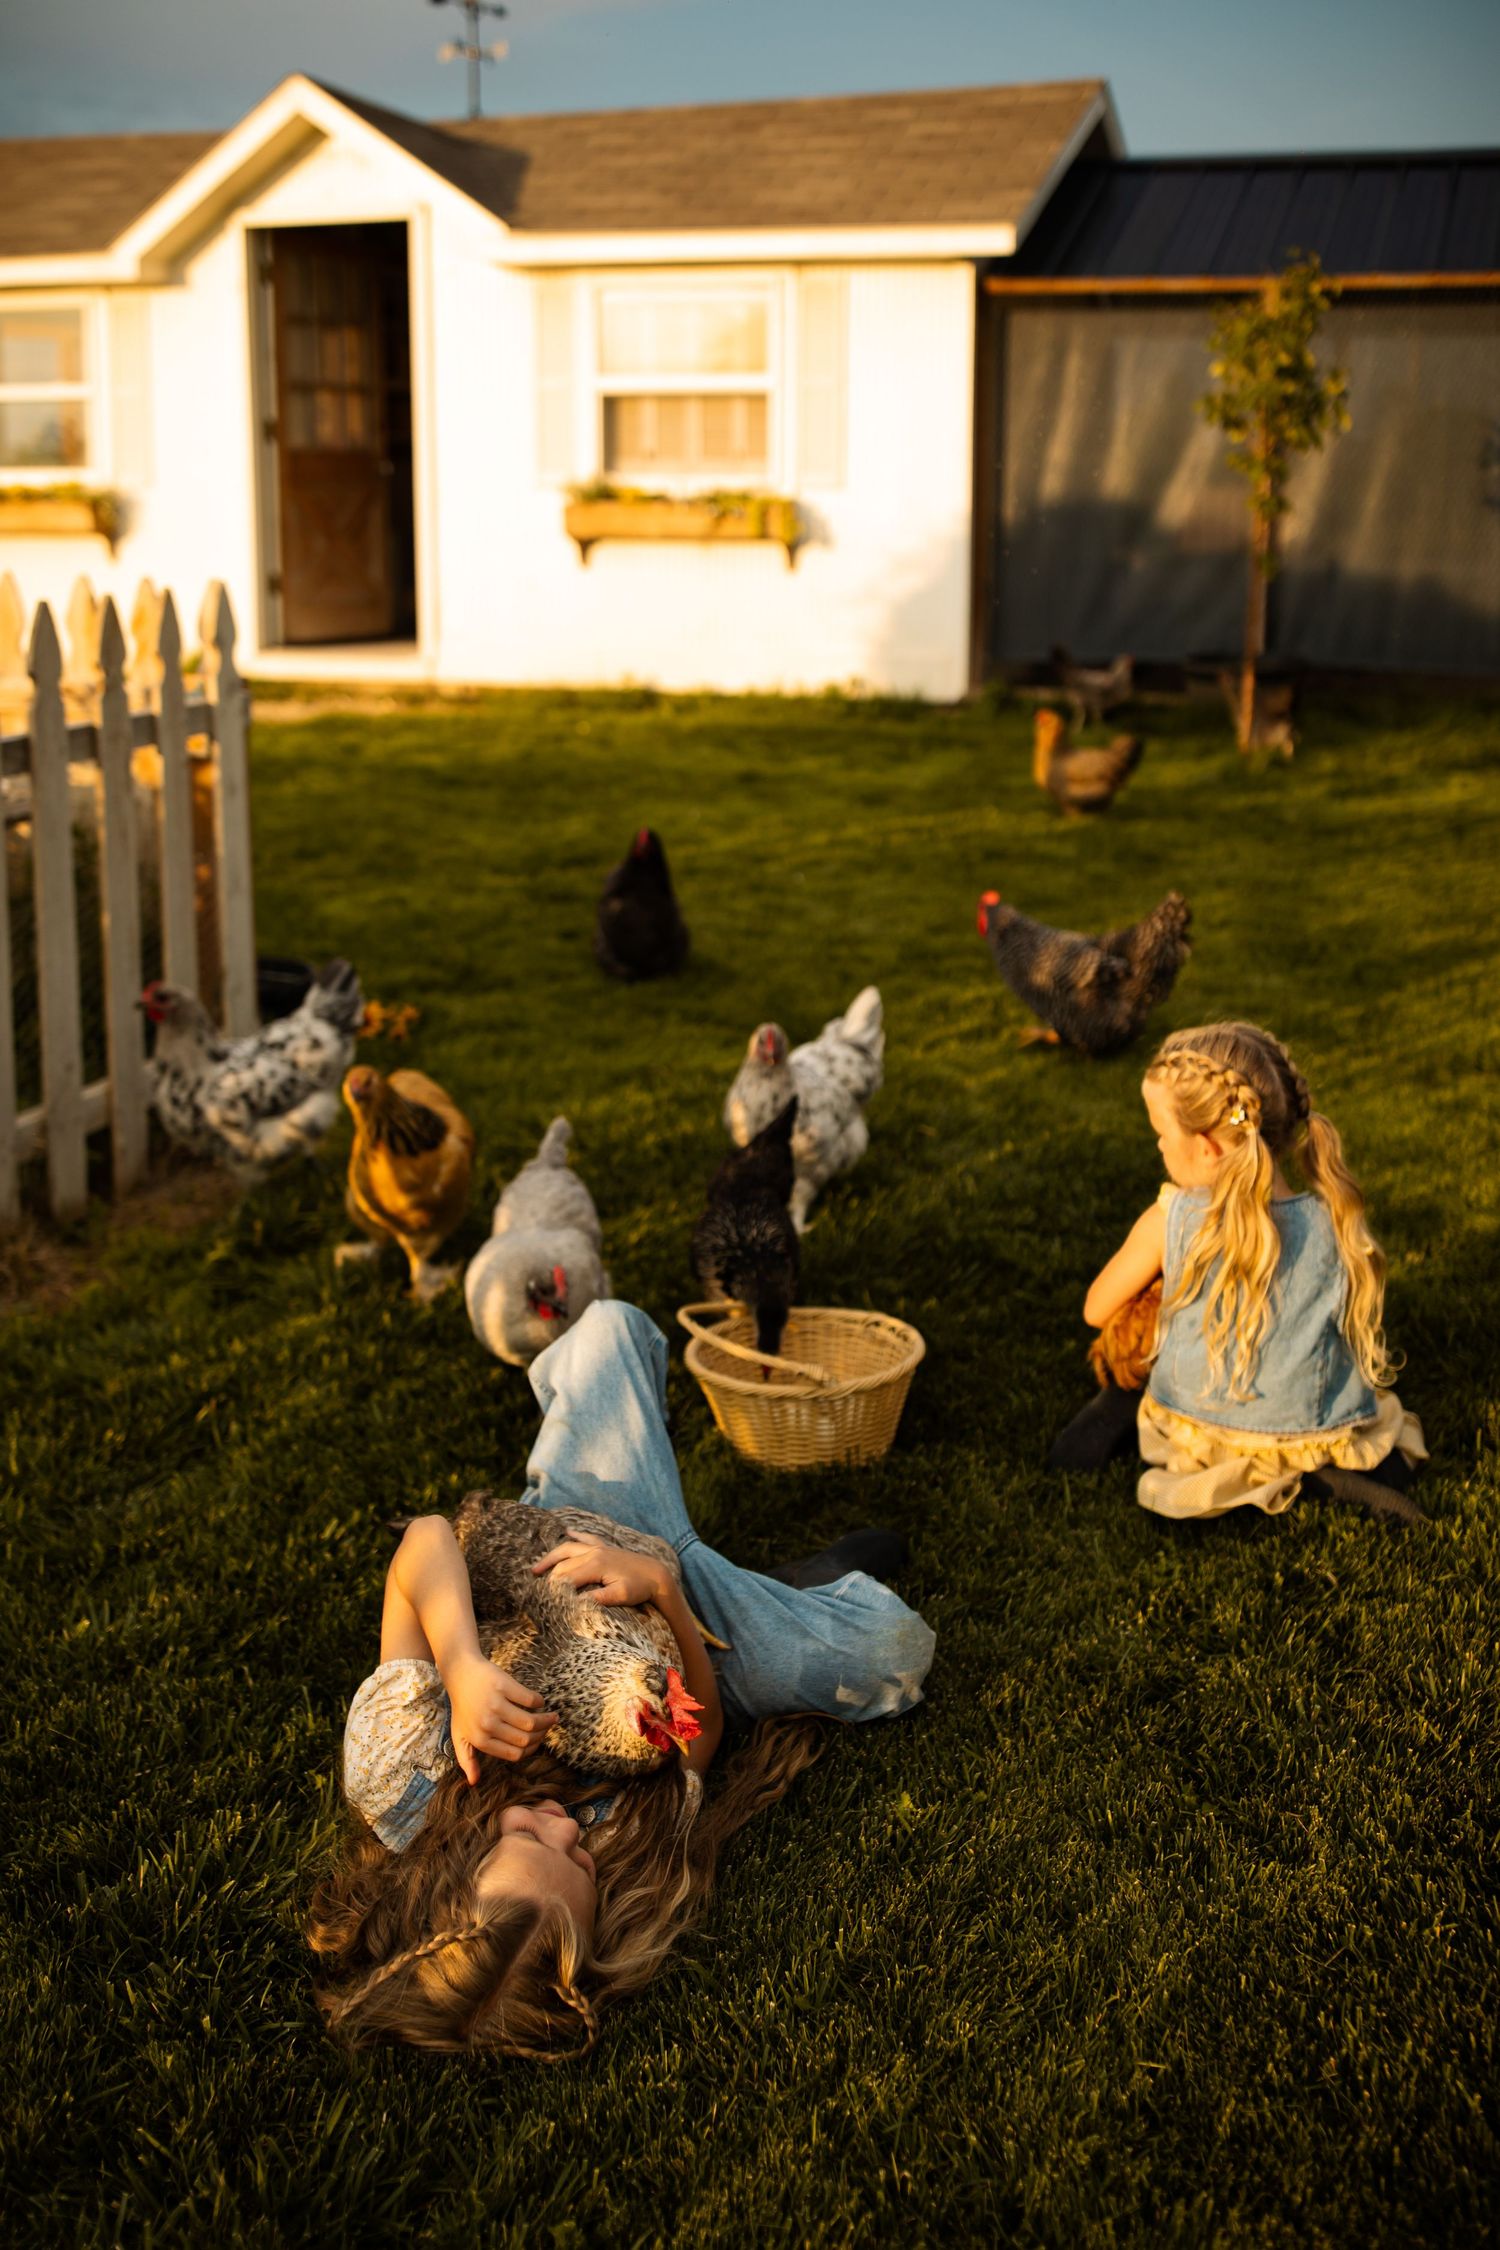
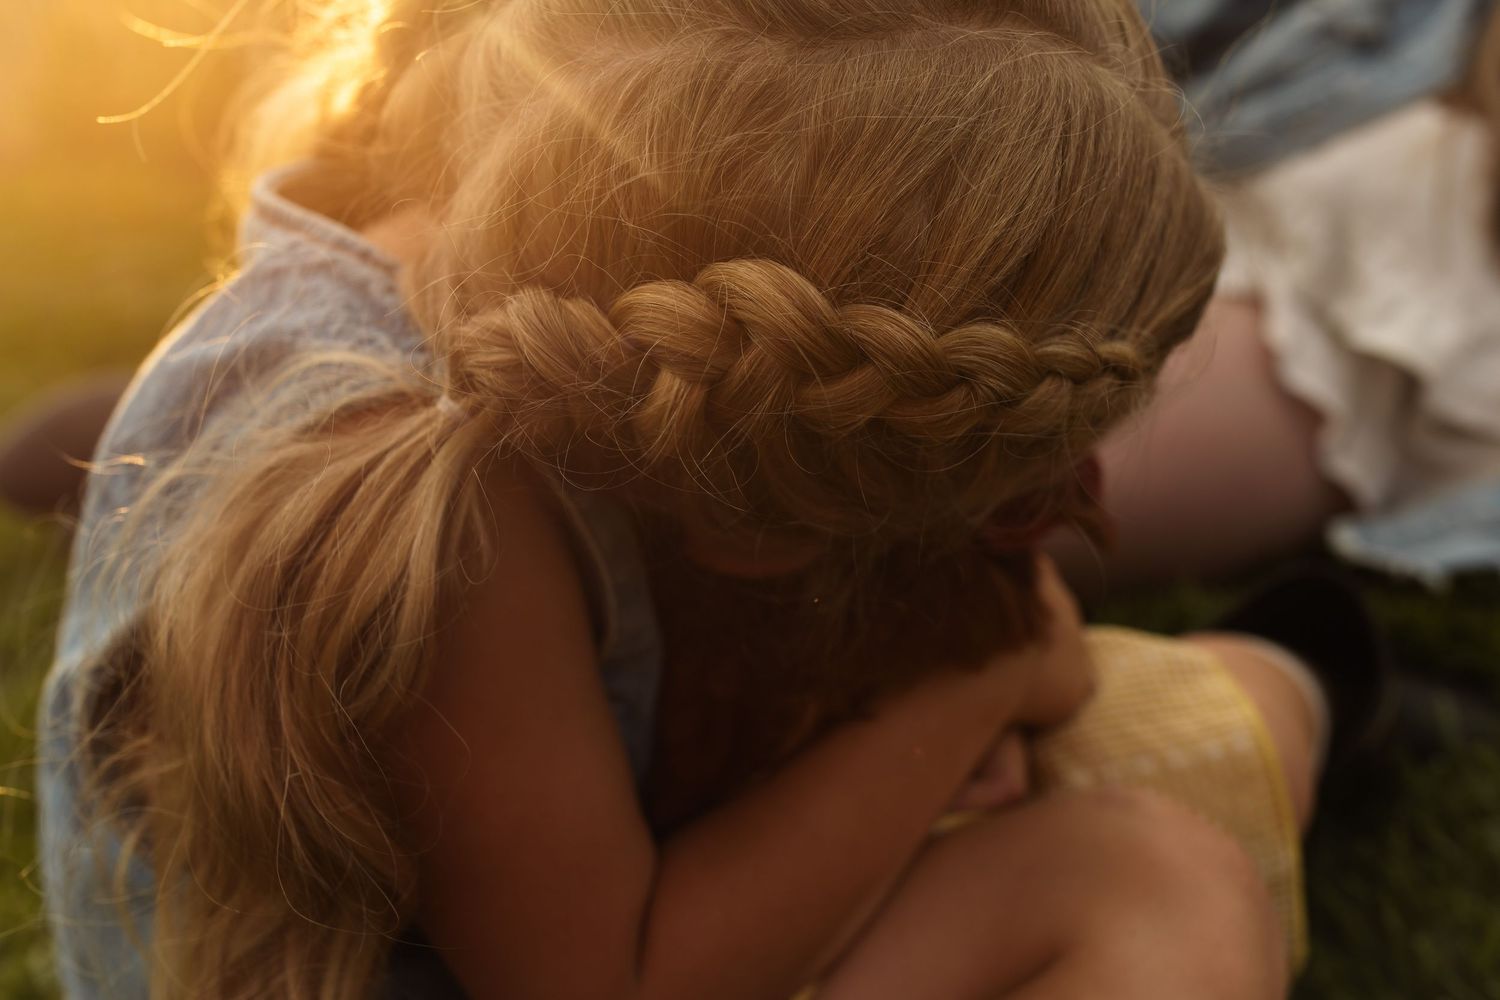
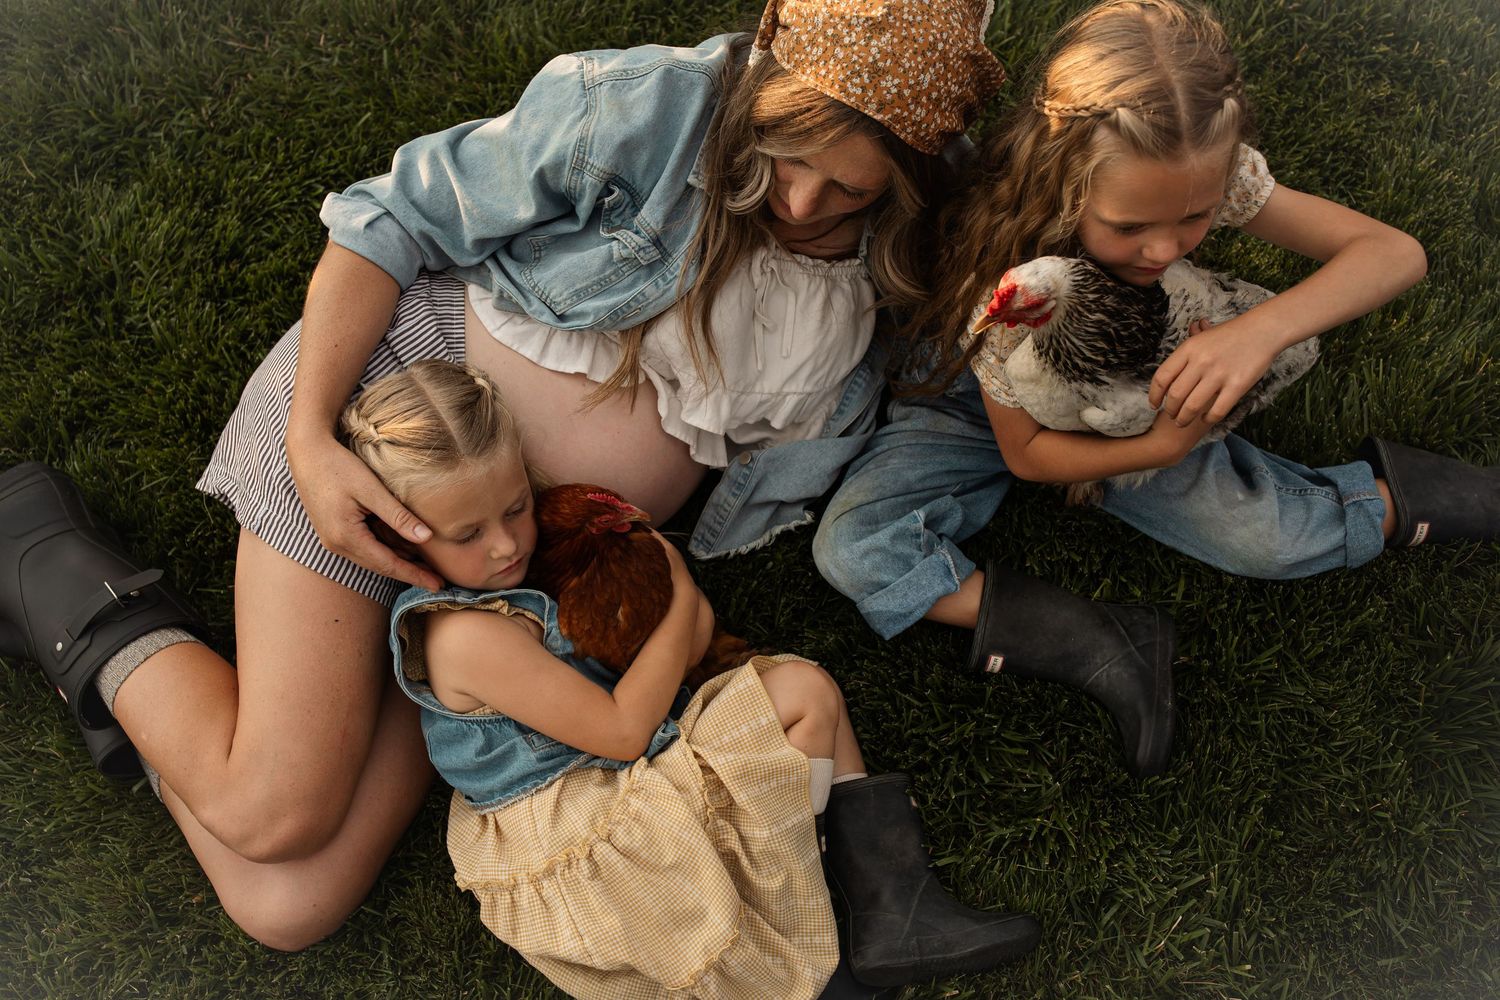
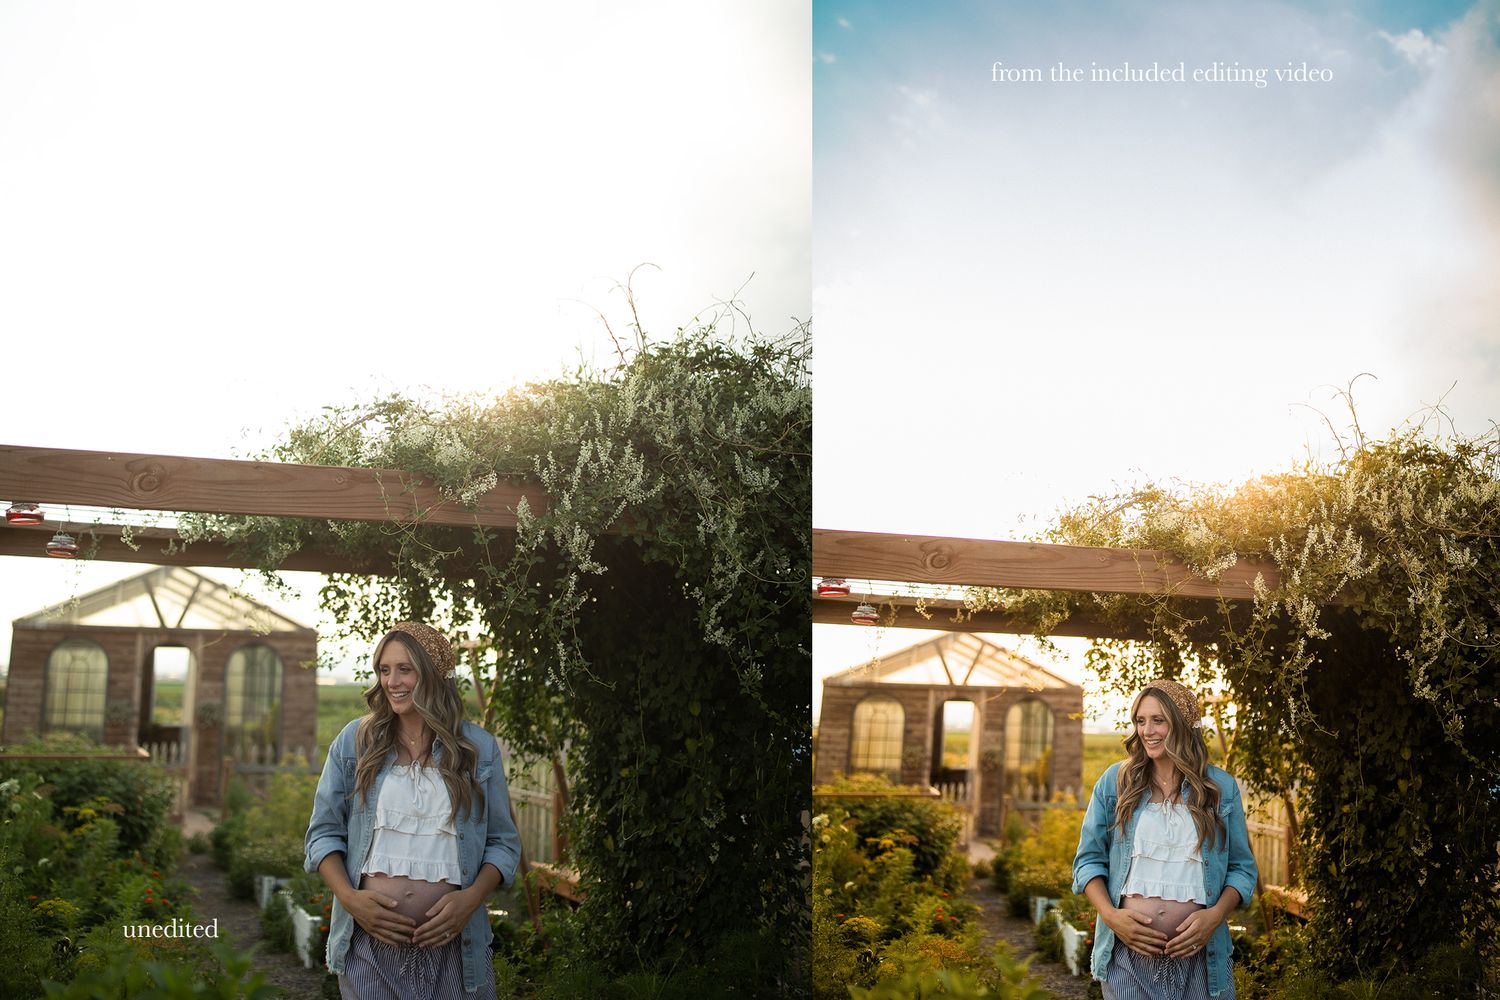
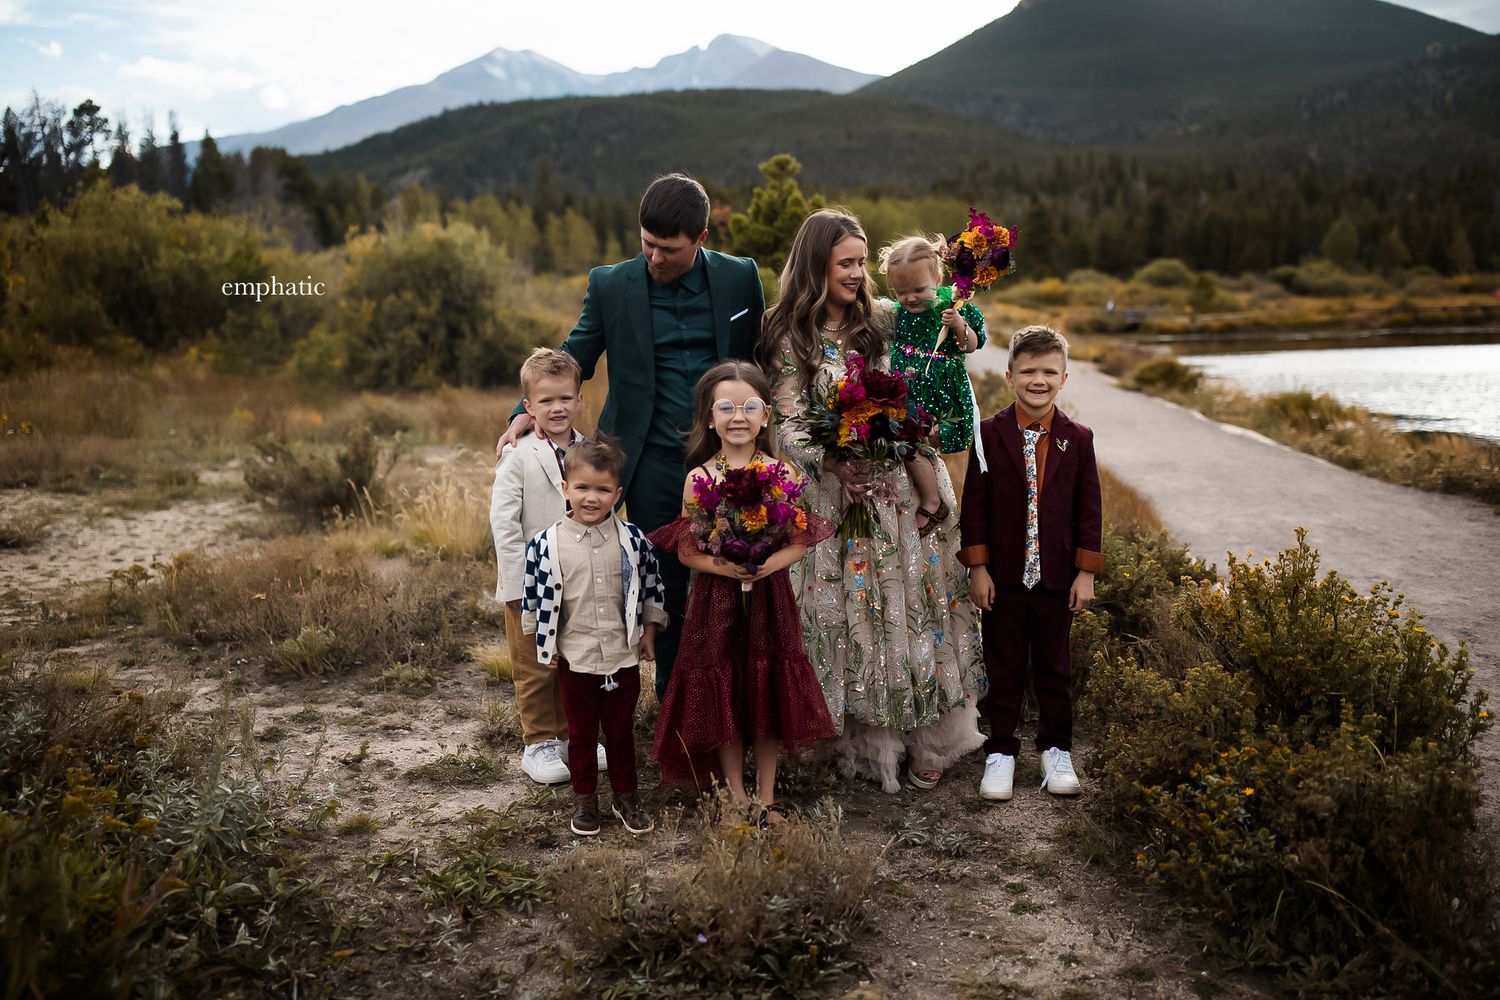
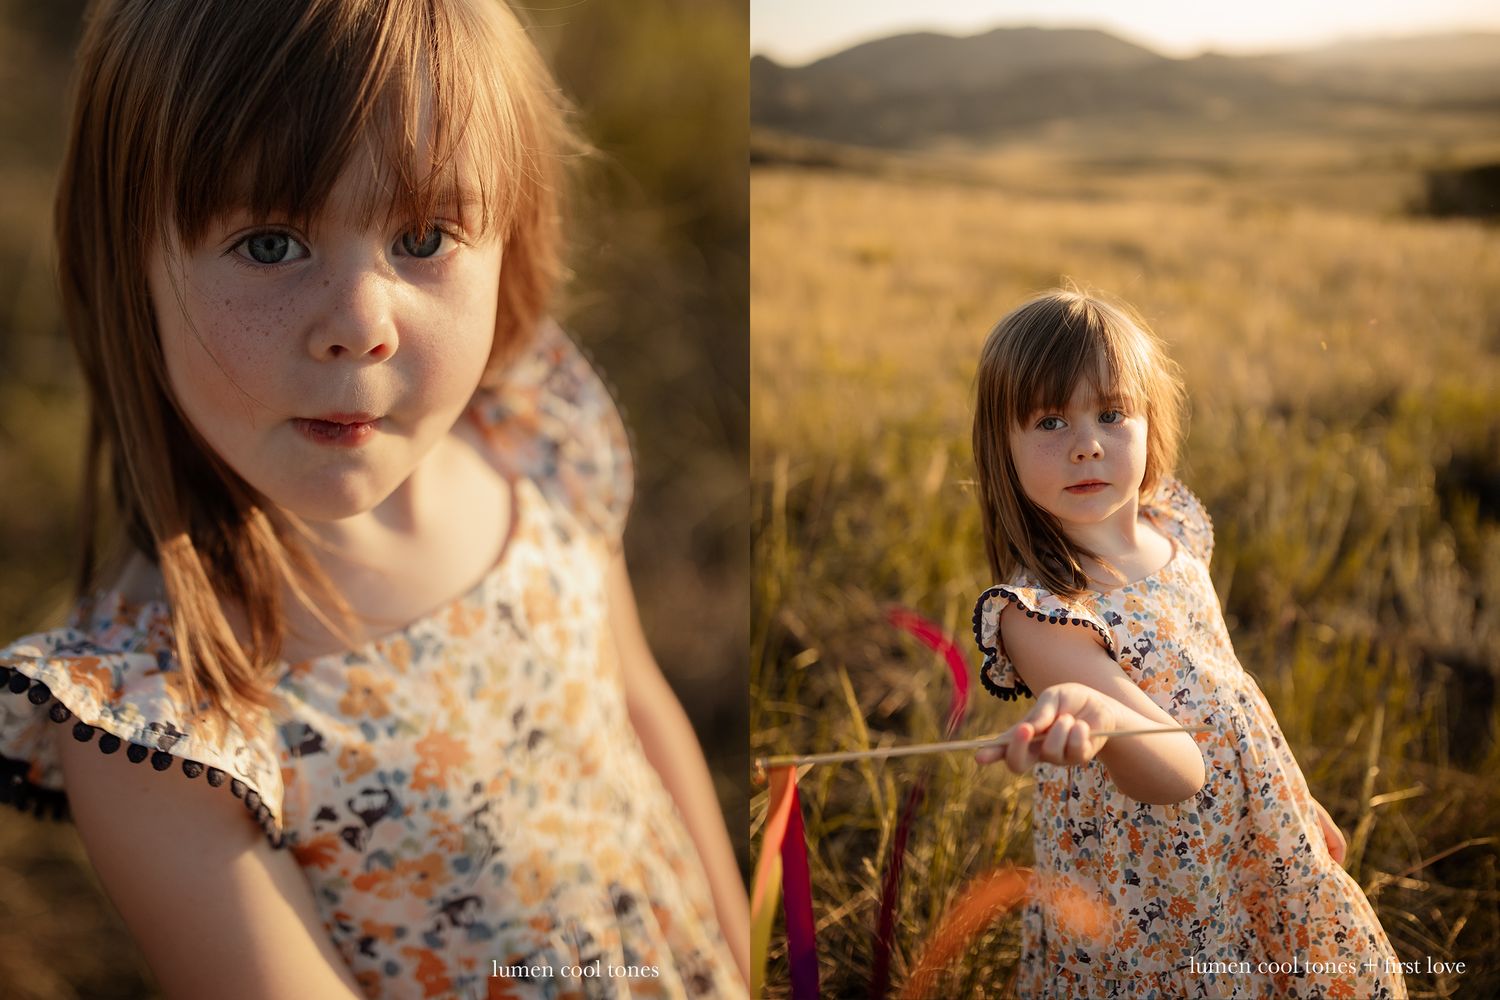
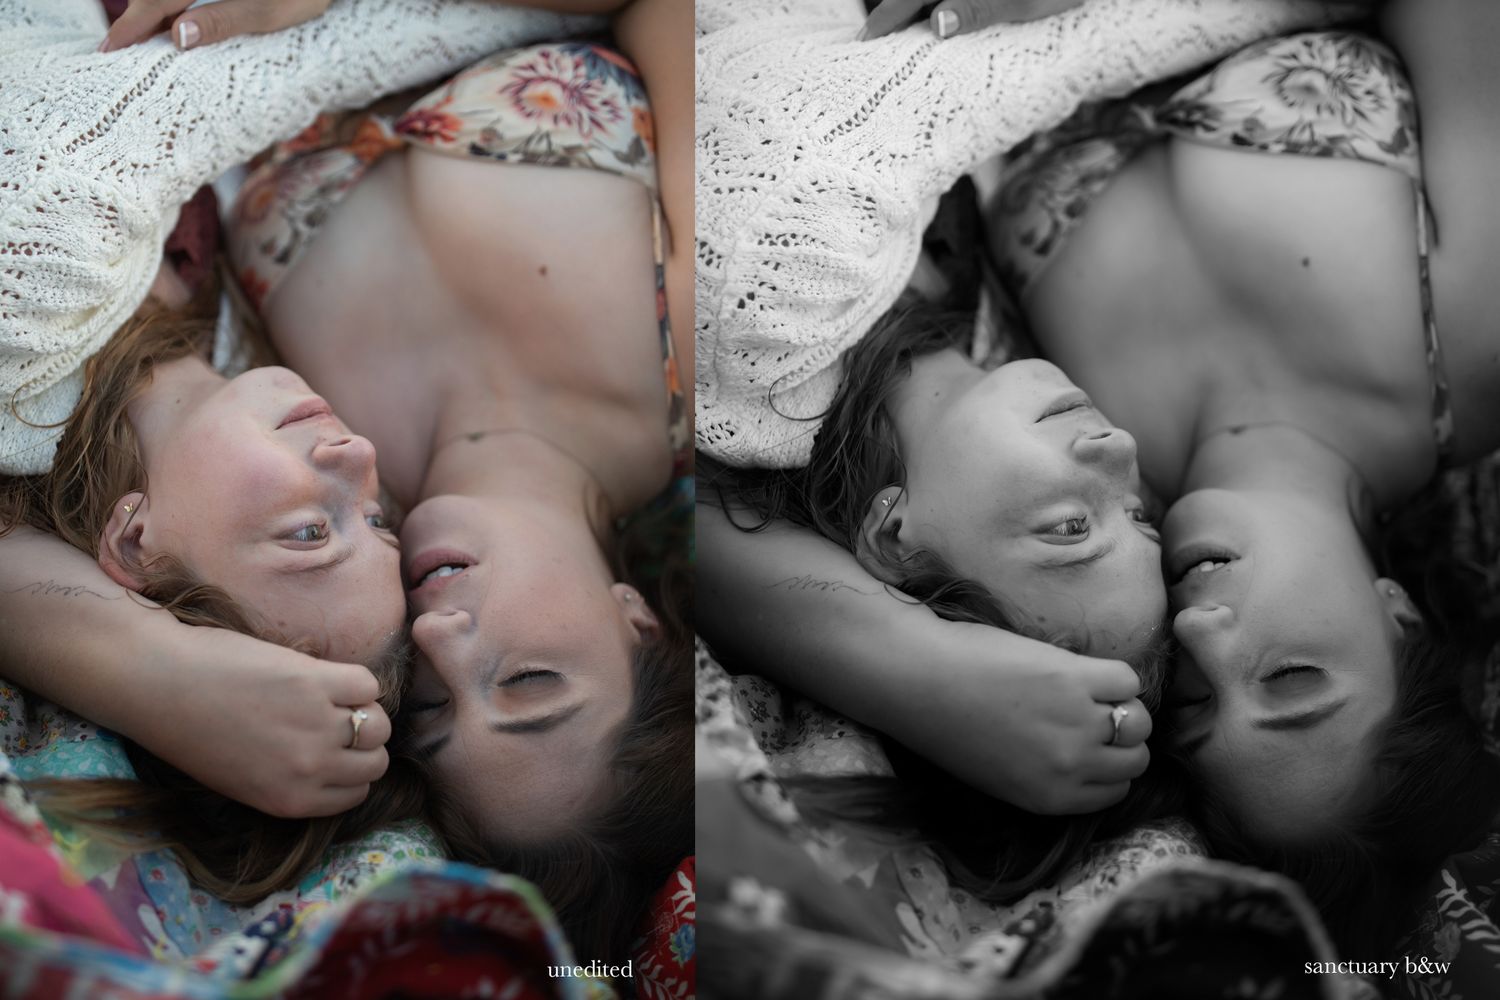
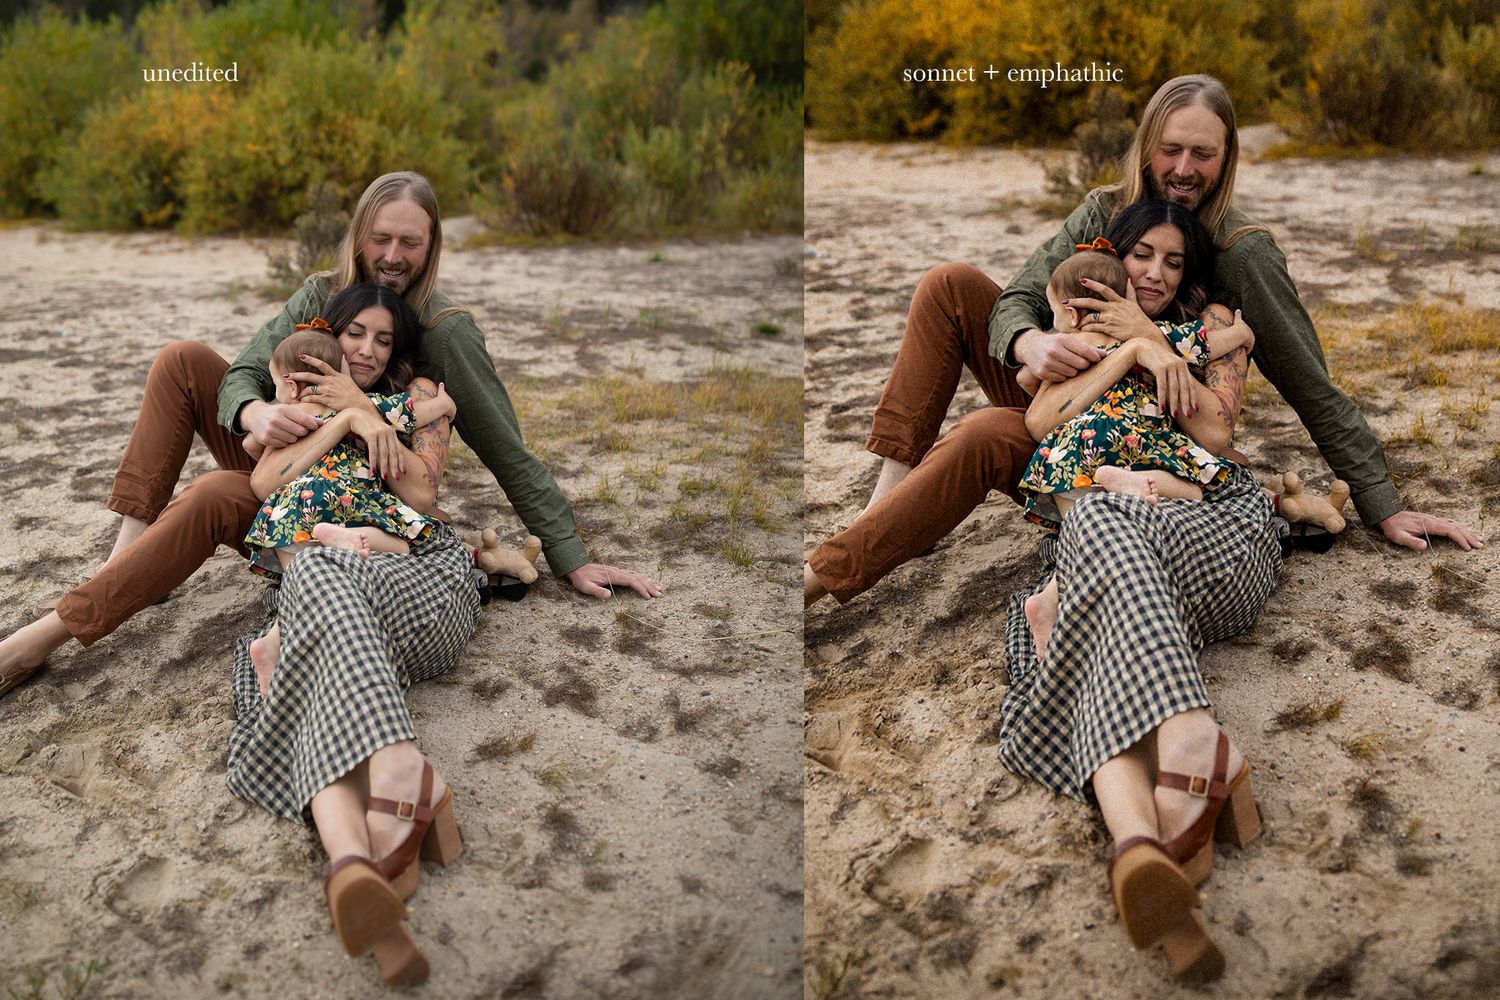
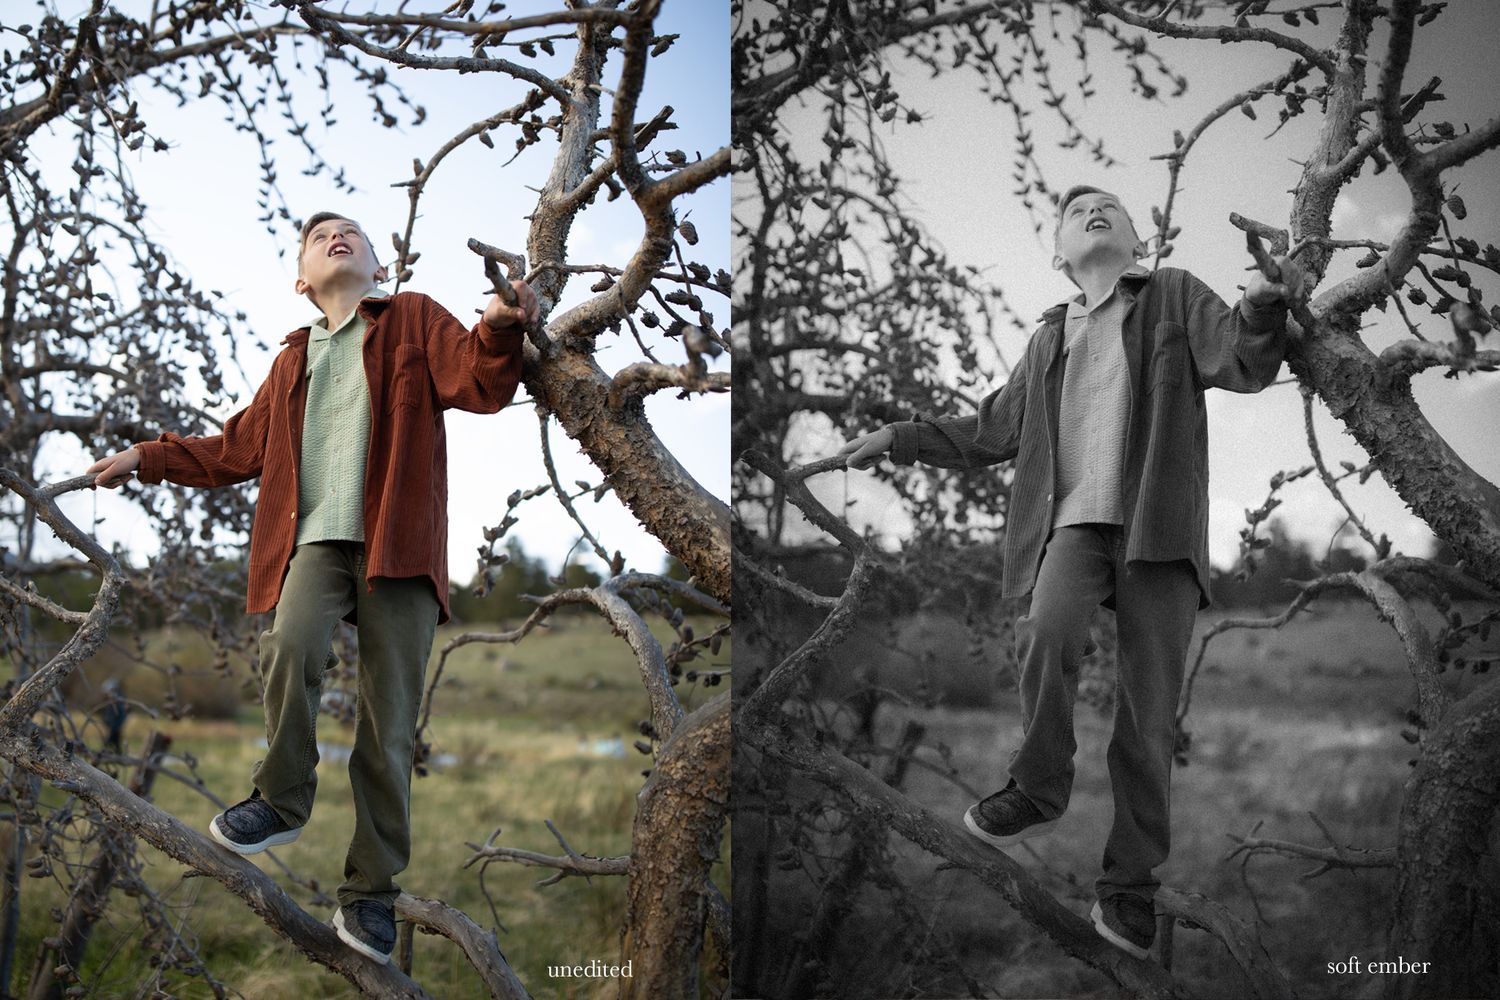
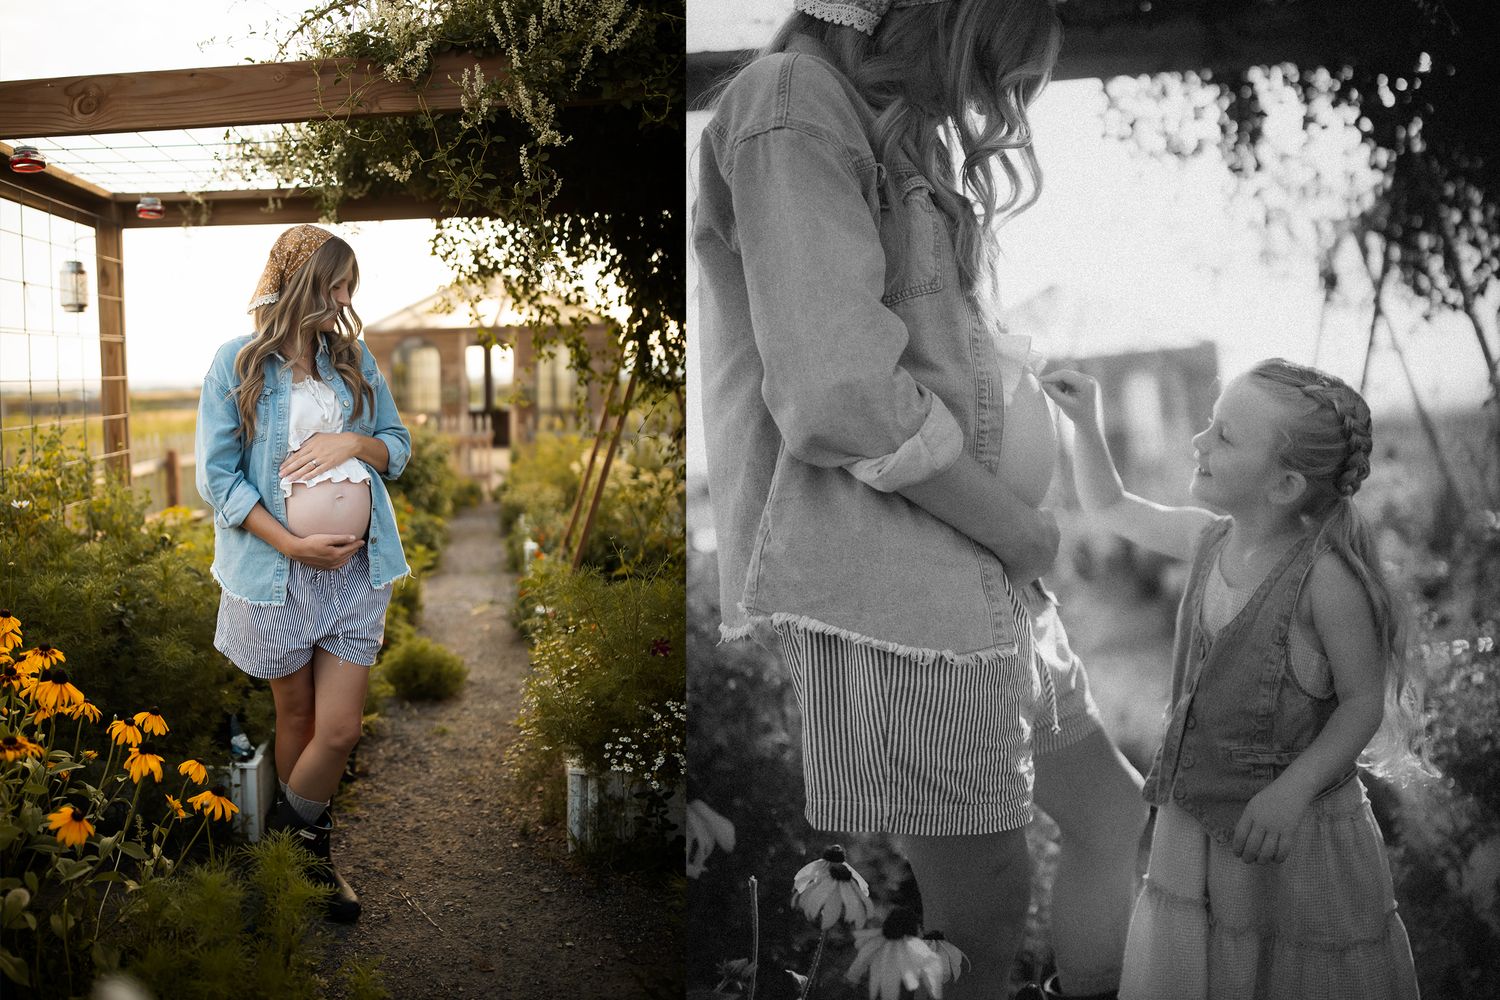
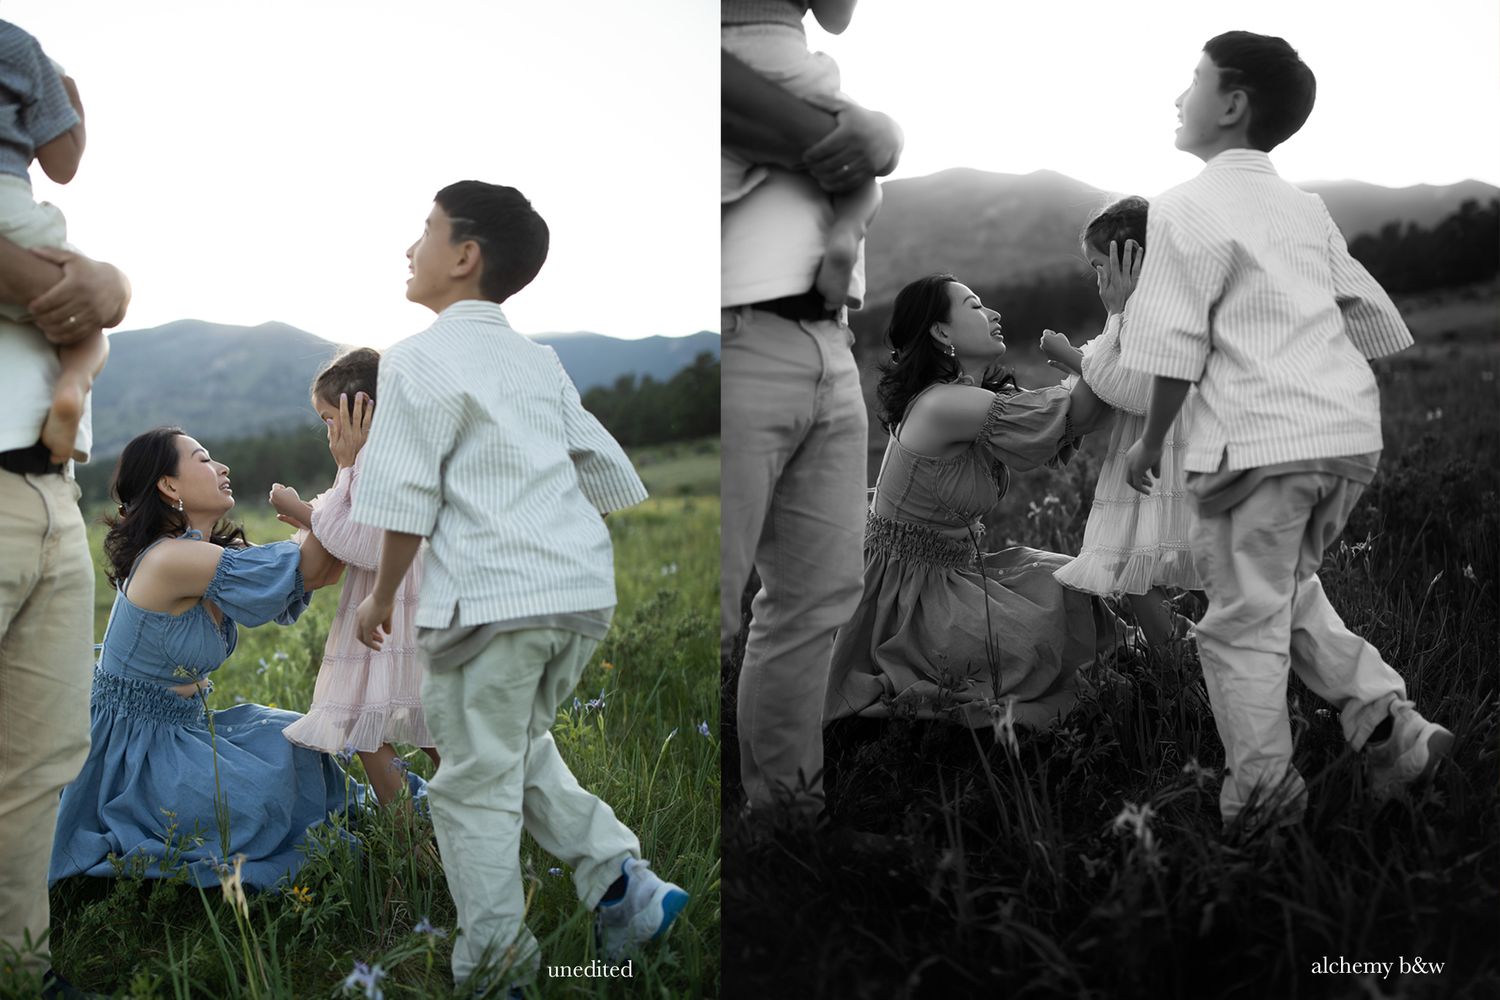
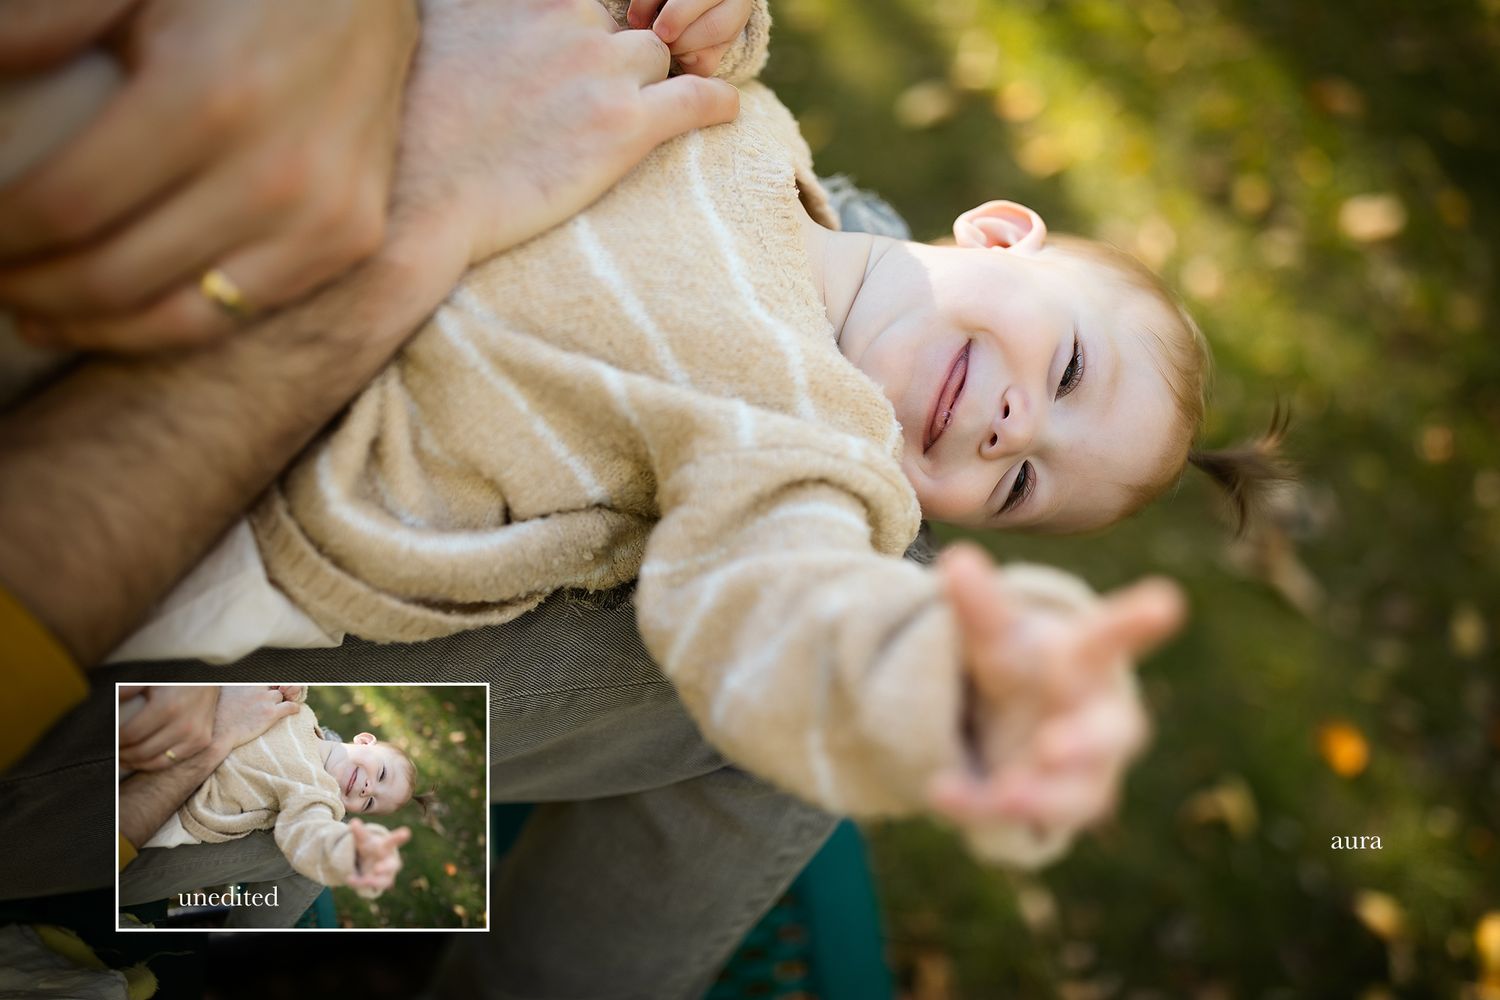
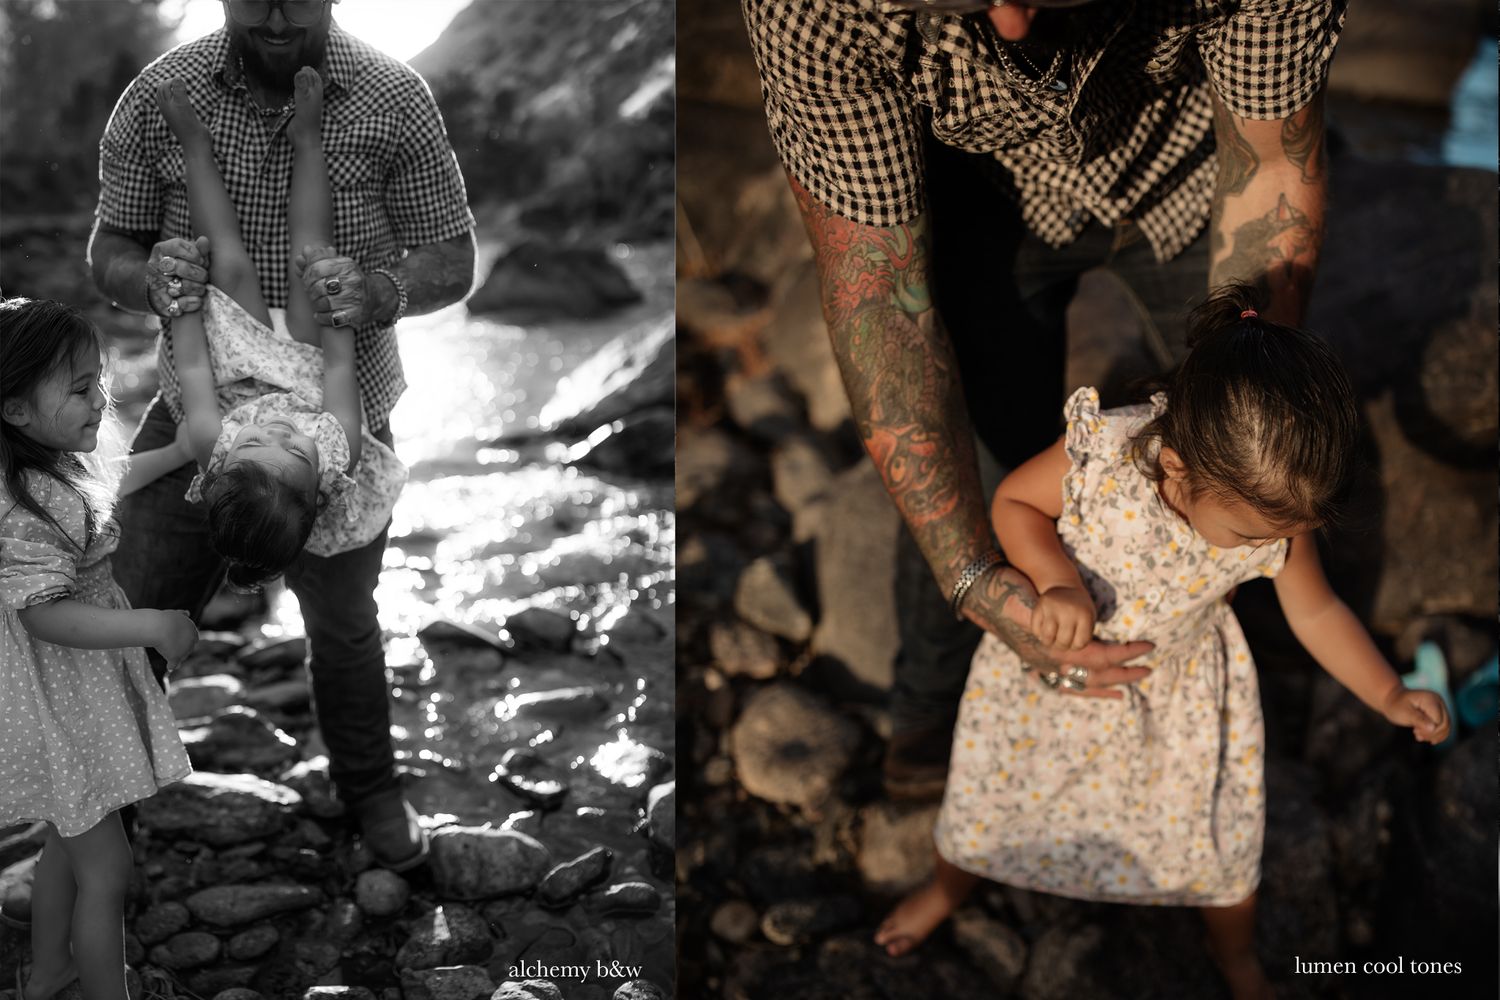
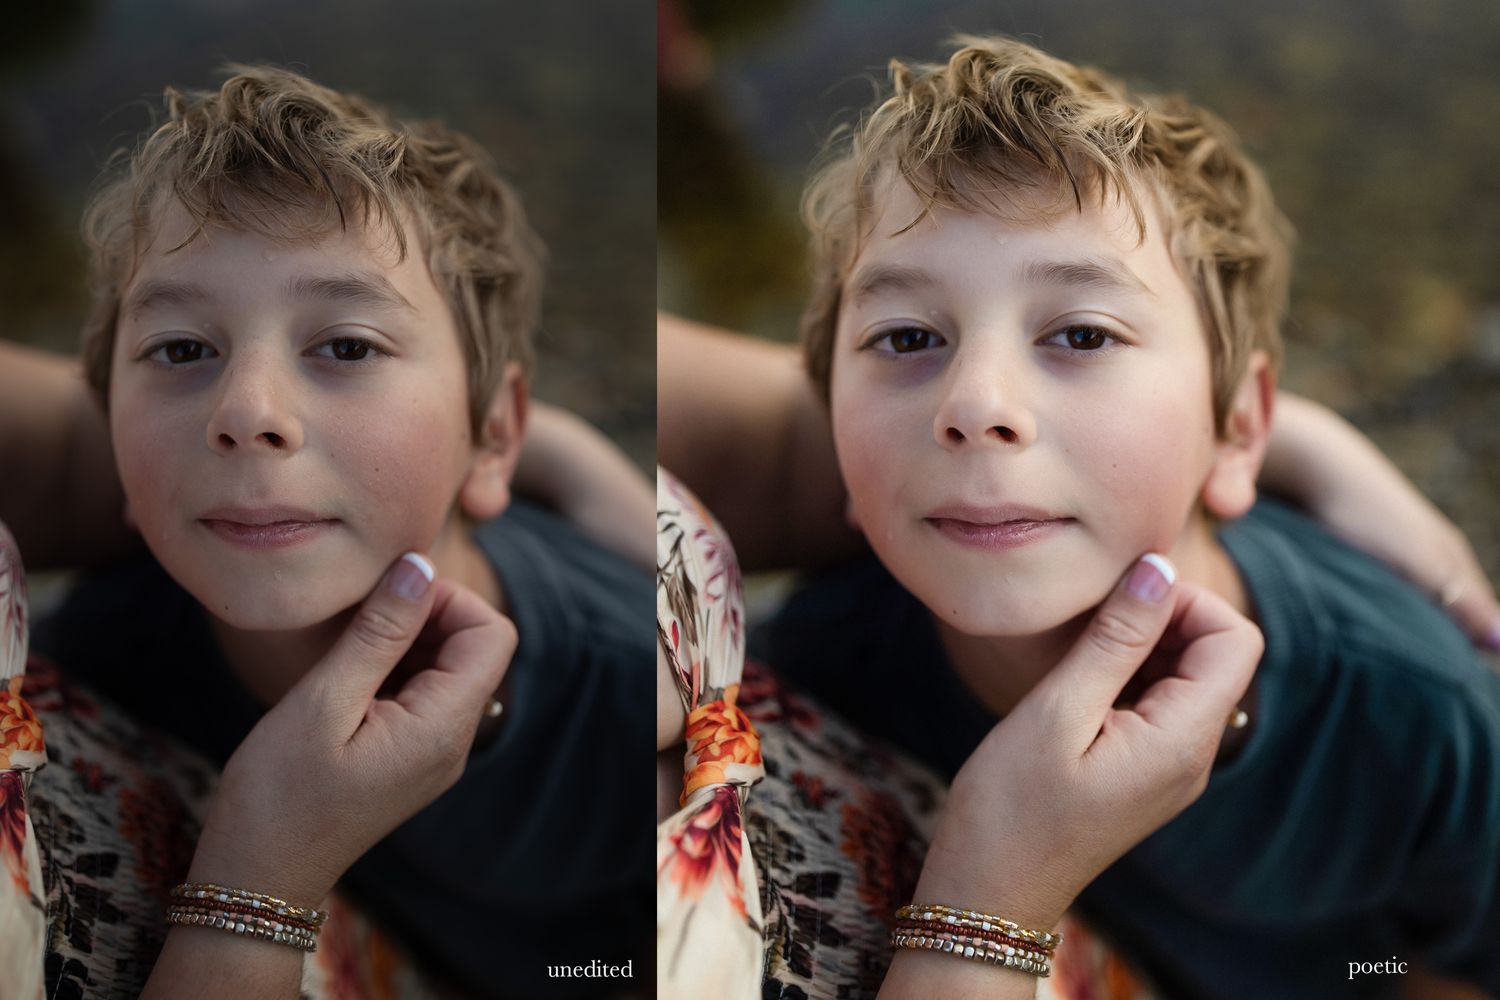
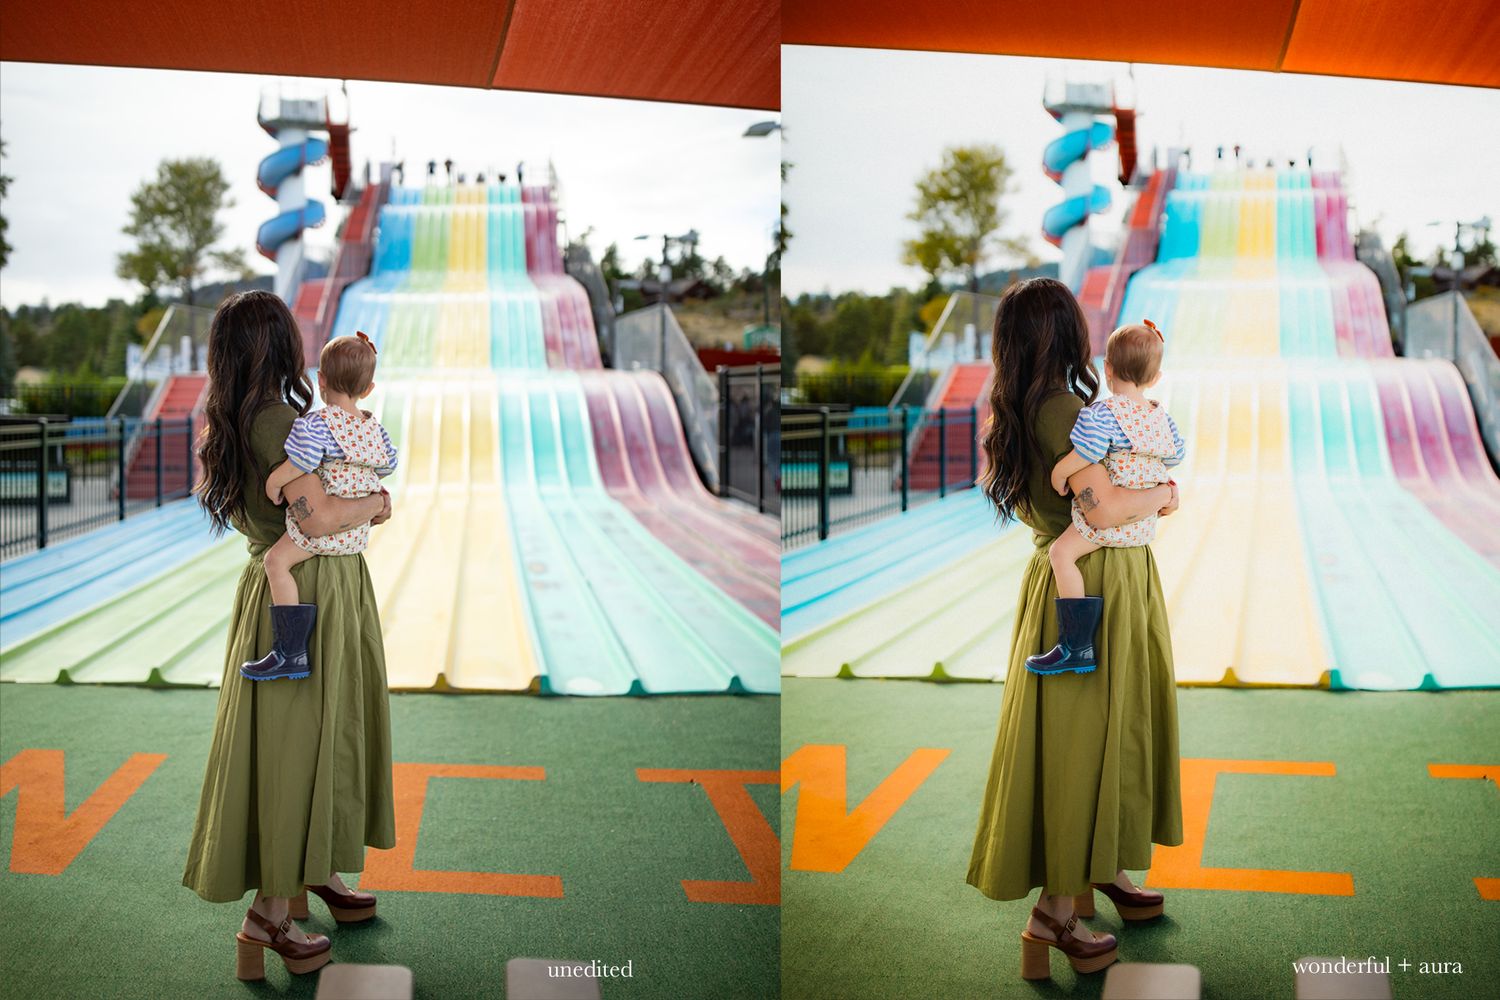
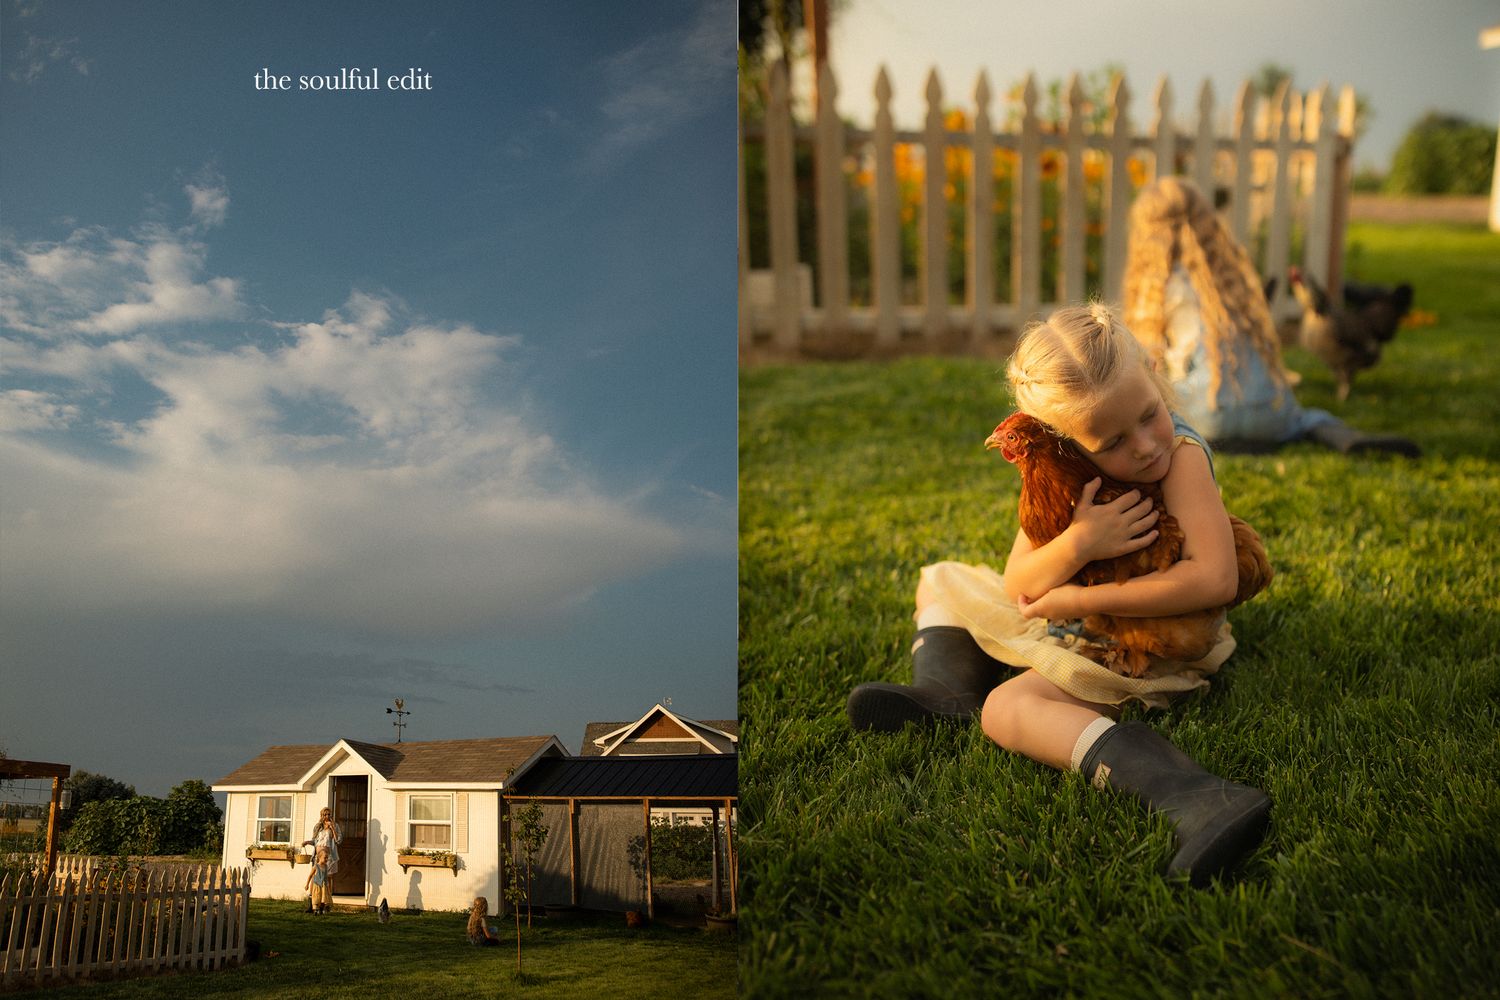
Inside this set are 18 Presets that are easily adaptable and simple to tweak. I did not do any adjustments to exposure or white balance when creating these presets so that these can seamlessly fit into your workflow. Make sure to check a few tips below on how to further customize these to your work.
The presets included are:
Alchemy B&W, Aura (If you are wondering, yes there is another preset with the same name haha. I loved it so much I got carried away. They are indeed different presets however), Empathic, Evanesce, Favor, First Love, Hearth, Hearth Adaptive (Adds some punch to the background), Homebound B&W, Honeylight, June, Lumen, Lumen Cool Tones, Poetic, Sanctuary B&W, Soft Ember B&W, Sonnet, Wonderful
Also included is a free 12 minute editing video showcasing how I use these and how best to customize them to different lighting styles as well as how to make your own masks to add a bit more drama. Make sure to find the link withinin the e-mail you receive
with your download.
Investment
$49
for Lightroom & ACR
tips on using these presets:
These presets work with LR CC Classic versions as well as CC ACR. You only need to purchase them once and can install and use these presets in both programs. If you already have Adobe Photoshop CC, Adobe Camera RAW is included as part of that program.
Quick tip: If you use Adobe Camera Raw, you can open your image in Camera Raw Filter and choose a preset to edit with. You can then open it again and layer a preset on top, effectively combining two presets.
Another fun tip:
Use the Adjustment Masks in Adobe Camera Raw or Lightroom and up the dehaze on the background mask. This will pop your colors and add contrast and depth to your edit.
I designed these presets to make them as easy to use as possible. I chose not to adjust the White Balance or the Exposure because I wanted them to be better adaptable for you. I realize we all shoot with different gear, different light, different beginning white balances and there are so many variables and I wanted you to be able to customize your edits. Make sure you are bumping up that exposure (or bumping it down) and playing with the warmth on your images. You can also tweak any of the sliders. Please make these your own. When editing RAW images you want to definitely be adjusting your White Balance and your Exposure accordingly and may have to do so more drastically depending on your beginning image.